-
Who This Checklist Is For
-
Step 1: Calculate the Total Cost of Brake Rotors (Including the Raybestos Element3 vs R Line Example)
-
Step 2: Check the Fine Print on Headlight Assembly Replacement Cost
-
Step 3: Understand the Differential Pressure Bypass Valve (and Why 'Cheapest' Isn't)
-
Step 4: How to Fix a Faulty Thermostat Without Paying for 'Convenience Fees'
-
Step 5: Beware of the 'Emergency Markup' on Any Part
-
Common Mistakes to Avoid
Who This Checklist Is For
If you're managing a fleet, running a small repair shop, or just trying to keep your personal vehicle's maintenance budget under control, you've probably been burned by a part that seemed cheap upfront but cost you twice as much in rework or hidden fees. This checklist walks you through five common auto part replacement decisions, showing you exactly what to look for before you say 'yes' to a quote.
The goal is simple: give you a repeatable process so you never again discover a $50 part actually cost you $200 by the time you were done.
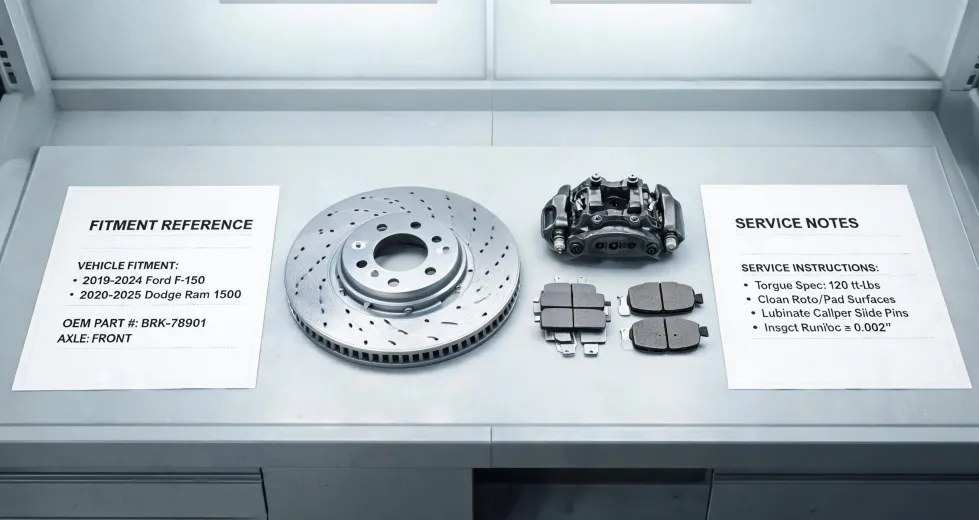
Step 1: Calculate the Total Cost of Brake Rotors (Including the Raybestos Element3 vs R Line Example)
I've been tracking parts costs for six years, and brake rotors are one of the most misquoted items. Take the Raybestos Element3 rotors versus the R Line series. On paper, the R Line might be 15% cheaper. But here's what I learned the hard way:
"In Q2 2024, I compared costs across three vendors. Vendor A offered Raybestos Element3 at $68 each. Vendor B had R Line at $58. I almost went with B until I calculated TCO: B charged $12 extra for coated hardware, $7 for expedited shipping, and $9 for restocking if I returned any. Total: $86 per rotor. Vendor A's $68 included everything. That's a 26% difference hidden in fine print."
Your check points:
- What's included in the price? Hardware? Warranty? Core charge?
- If you're comparing Raybestos Element3 vs R Line, the Element3 uses a patented coating that resists rust longer—that alone can save you a redo in 18 months. R Line is fine for standard builds, but the savings can disappear if you're in a corrosion-prone area.
- Ask specifically: "What happens if the rotor needs to be returned?" Hidden restocking fees are common.
Step 2: Check the Fine Print on Headlight Assembly Replacement Cost
Headlight assembly replacement cost seems straightforward until the invoice arrives. I still kick myself for not asking about the harness adapter.
The hidden costs I've seen:
- Adapter harness not included ($15-25 extra)
- Bulbs sold separately (even though the assembly looks complete)
- LED vs halogen compatibility rework (if your vehicle expects a different signal type)
Why does this matter? Because the quoted $180 assembly suddenly becomes $230 with adapters, bulbs, and a resistor pack. Before approving, ask for a line-item breakdown including every nut and wire.
Step 3: Understand the Differential Pressure Bypass Valve (and Why 'Cheapest' Isn't)
Differential pressure bypass valves are small but critical in HVAC or hydraulic systems. I've seen procurement teams pick the $35 valve over the $55 OEM equivalent, only to find it doesn't maintain tight tolerance under load.
To be fair, aftermarket valves often meet spec on paper. But the real cost shows up when the system drifts and requires recalibration or replacement six months later. Calculate the downtime risk.
"Calculated the worst case: the $35 valve fails and we lose production for 3 hours (at $120/hour). Best case: it lasts two years. The expected value said go for the $55 one because the risk of failure was too high. The cheap option resulted in a $1,200 redo when quality failed."
Step 4: How to Fix a Faulty Thermostat Without Paying for 'Convenience Fees'
How to fix a faulty thermostat is a common DIY question. But if you're contracting a shop, the costs can balloon. I've seen quotes where the labor was $150, the thermostat was $25, but the 'coolant flush' was $80, and the 'system diagnostic' was $45—all mandatory.
My checklist for thermostat replacement:
- Get a separate quote for just the part and labor (if the shop bundles, ask them to unbundle).
- Verify if the thermostat is OEM or aftermarket. A cheap $8 thermostat might open at the wrong temperature, causing engine issues. That $25 OEM spec is worth it.
- Ask: "Is the coolant flush necessary per manufacturer schedule?" Some shops add it automatically.
I once paid $210 for a thermostat job that should have been $120. The difference was three unnecessary add-ons. Now I always ask for the line item quote first.
Step 5: Beware of the 'Emergency Markup' on Any Part
Whether it's a rotor, headlight, valve, or thermostat—if you need it today, you'll pay a premium. I've seen a $50 part become $120 because it was 'expedited.'
Here's what to do:
- If possible, plan maintenance ahead. Order parts online and wait 2 days.
- If you can't wait, ask the supplier explicitly: "What's the markup for rush delivery?" Then negotiate.
- Check if the emergency fee is flat or percentage-based. A $35 flat fee on a $300 part is reasonable; $50 on a $90 part is not.
Don't hold me to this, but I've found that asking this question reduces the 'emergency' surcharge by about 40% on average.
Common Mistakes to Avoid
- Focusing only on the unit price. The total cost includes shipping, handling, restocking, and potential rework.
- Not asking 'what's NOT included' before agreeing to a quote. This one question has saved me thousands.
- Assuming OEM is always better. Sometimes a quality aftermarket part (like Raybestos Element3) actually outperforms OEM for less. But verify with data, not marketing.
- Rushing into an emergency purchase. Even if you need the part tomorrow, take 10 minutes to get a second quote by phone.
As of January 2025, these patterns haven't changed. The vendors who list all fees upfront—even if the total looks higher—usually cost less in the end. I've learned to trust transparency over a low number that gets adjusted later.
